There’s an old saying: “Pictures or it didn’t happen.” As any angler will attest, there’s a particular sting when a grand tale of a hard-fought battle with a behemoth from the deep lacks visual proof.
How can you capture the glittering scales, water’s dance, and raw emotion of the moment? Join us as we help you transform your angling anecdotes into visual masterpieces. It’s time to catch the perfect shot of your Kenai catch like a seasoned pro!
1. The Golden (Hour) Rule
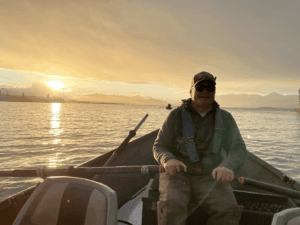
The golden hour is the period shortly after sunrise and just before sunset. The sunlight bathes everything in a soft, warm, and golden hue. This lighting can transform your photos from ‘good’ to ‘mesmerizing.’
Why does this matter in fish photography? Well, during the golden hour, the sunlight’s angle accentuates the details and colors of your catch. Whether it’s the iridescent shimmer on a salmon’s side or the intricate patterns on a trout, this magical light ensures that every scale and splash shines brilliantly. It avoids the harsh shadows and blown-out highlights that the midday sun can cause.
The Kenai River becomes part of this photographic symphony during the golden hour. The water reflects the sky’s hues, adding depth and drama to your shots. Envision your fish reflecting the pink and orange skies while the calm river provides a perfect mirror image. It’s a recipe for a photo that’s worth more than a thousand words.
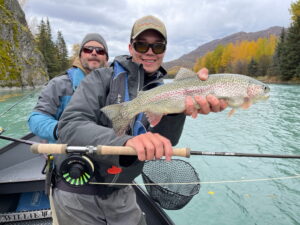
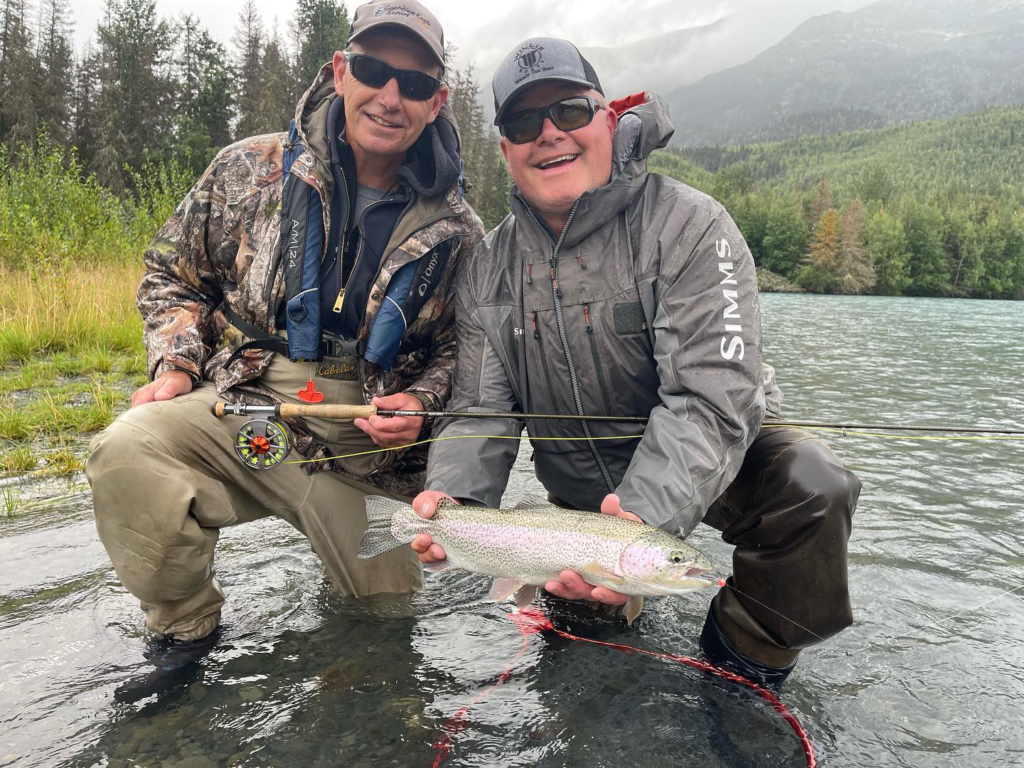
2. Get on the Fish’s Level

One of the most common rookie mistakes in fish photography is taking shots from a standing position (i.e., looking down at the catch). Sure, this angle gives a full view of the fish, but it often lacks dynamism and fails to capture the surroundings adequately.
To truly bring your photographs to life, get down and go eye-to-eye with your aquatic adversary. This perspective emphasizes the fish’s size and features. It also incorporates the environment: the water’s sheen, the riverbed, and even the horizon if you’re near the riverbank.
3. Focus on the Eyes
There’s an age-old saying in photography: “The eyes are the windows to the soul.” Even when your subject is a fish, this remains surprisingly true. The eyes can convey the vitality and essence of your catch.
Fish eyes, with their unique structure and sheen, can be incredibly expressive. When well-focused, they can reflect the surroundings, be it the sky, trees, or even the angler. They become the focal point, draw the viewer into the photo, and provide depth and dimension to the image.
How can you ensure sharp focus? Use a camera or smartphone with a good macro mode. Get close enough, but not so close that you spook the fish or cast a shadow. Use a shallow depth of field to blur the background slightly, ensuring that the eyes remain the star of the image.
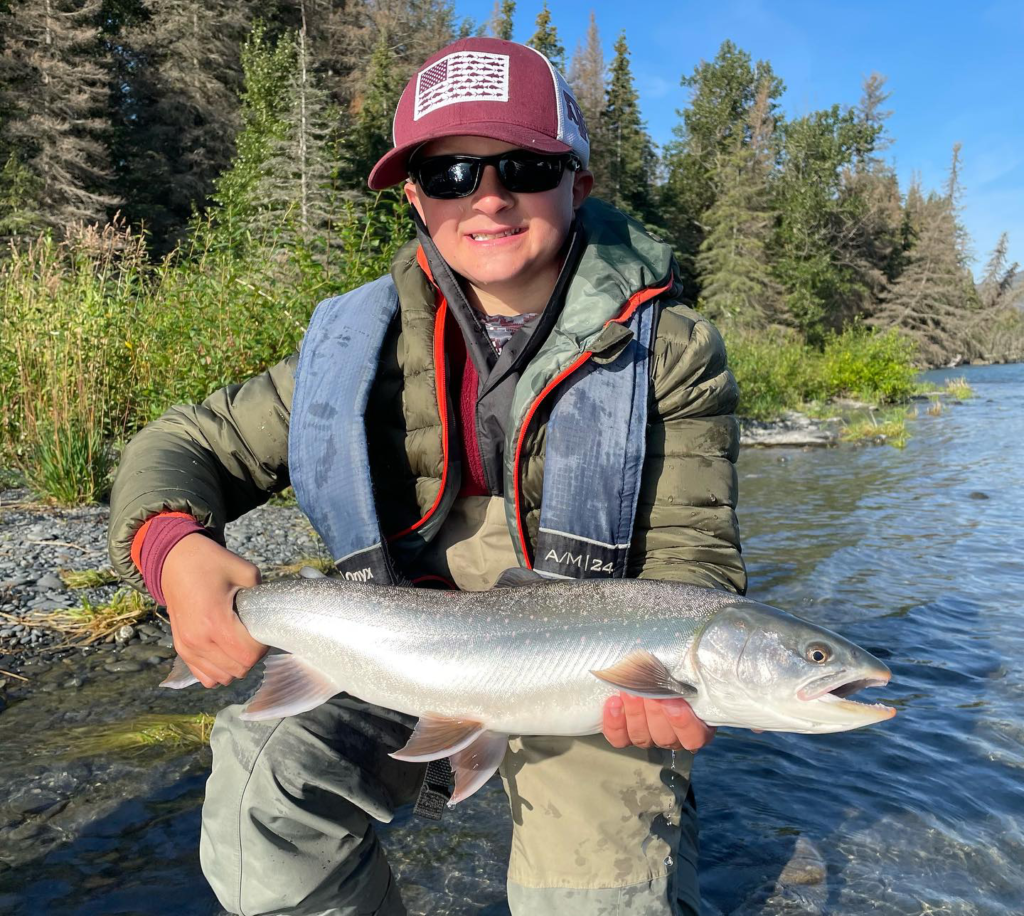
4. Use Natural Props
Nature provides a bountiful and ever-changing stage for your photos; the wise photographer knows how to leverage it. Forget about artificial backdrops; natural props can elevate your fish photography to an art form!
Imagine the rough texture of driftwood against the sleekness of sockeye salmon. Or the contrast of vibrant autumn leaves next to the muted tones of rainbow trout.
In its lush and wild beauty, the Kenai River area offers an endless array of props: smooth pebbles, rustling reeds, colorful flowers, and even the occasional curious insect or amphibian. These elements can add depth, contrast, and context to your image.
5. Be Quick, Be Gentle
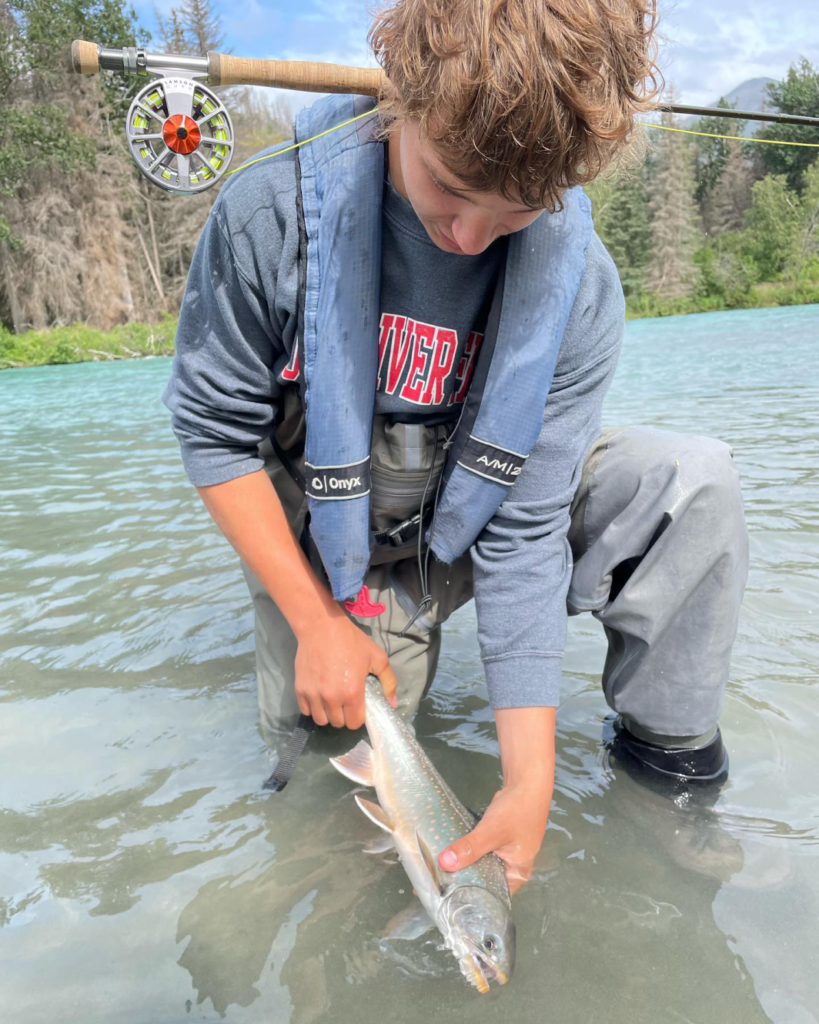
Fish photography isn’t just about getting a stunning shot; it’s also about ensuring the health and safety of the star of your photo: the fish. Keep in mind that every second a fish spends out of water can cause it distress.
Always wet your hands before handling the fish; this protects their delicate slime coat. Keep the fish above soft surfaces to minimize injury if they slip out of your grasp. If possible, avoid taking the fish out of the water altogether; many stunning shots are captured with the fish half-submerged.
Be prepared before you make the catch. Have your camera settings adjusted, props ready, and angle in mind. The quicker you can snap that shot, the sooner the fish can be safely returned to their home.
Recommended Read: It’s About Getting the Best Image and Preserving the Resource
6. Practice Makes Perfect
Like any art form, mastering fish photography requires time, patience, and practice. And yes, while the moment’s spontaneity can sometimes yield the most breathtaking shots, a practiced hand and a trained eye can consistently capture the beauty of the Kenai River’s aquatic treasures.
Start by observing. Look at other photographs and discern what makes them stand out. Is it the lighting, angle, or composition? Try replicating shots you admire to understand the technique behind them.
But don’t just stop there. Experiment. Play with angles, lighting, and settings. Sometimes, the most unexpected techniques can yield the most memorable photos. Each fish and catch tells a unique story. With practice, you’ll capture the emotion,thrill, and reverence of the moment.
7. Editing: Enhance, Don’t Exaggerate
Post-production can be the difference between a good shot and a great one. However, there’s a fine line between enhancing a photo and changing its very essence. When it comes to fish photography, the goal should always be authenticity. You’re capturing an interaction with nature that deserves to be showcased in its genuine glory.
The first step is to familiarize yourself with editing tools. Whether you’re using Adobe Lightroom, Photoshop, or mobile apps like Snapseed or VSCO, make sure you know the functions like the back of your hand. Start with basic corrections: adjust the exposure if the image is too dark or too bright, correct the white balance to ensure the colors are true to life, and sharpen the image just enough to make it crisp.
One of the most common pitfalls is over-saturation. While it may be tempting to make your salmon’s pink more vibrant or your rainbow trout’s stripes more pronounced, excessive color adjustments can make the photo look unnatural. Instead, aim for subtle enhancements that highlight the fish’s natural beauty.
We also recommend cropping the image to improve composition. Maybe there’s an uninteresting patch of water on one side, or perhaps cropping can help center the fish more effectively. But remember, every crop reduces the resolution, so ensure your final image remains sharp.
Lastly, consider the story you’re telling. If your image captures the serene moment of a sunrise fish, a slight warmth in the tones can amplify the emotion. But if it’s the raw energy of a mid-day catch, cooler tones may be more apt.
Connect with the Kenai Experts
There’s an unparalleled thrill in capturing the perfect fish photograph. But why stop at photographs when you can dive deeper into the authentic Kenai River experience?
At Jason’s Guide Service, we provide Kenai River guided fishing trips to help you enjoy the epitome of serenity, excitement, and adventure. Beyond fish photography, our experts can enrich your journey with stories, local lore, and the science of the river. Whether you plan a guided rainbow trout trip, a salmon fishing adventure, or a personalized guided fishing trip, we’ll ensure you leave with a pocketful of knowledge, stories, insights, tips, tricks, and memories.
Our Cooper Landing fly fishing guides have dedicated their lives to understanding every ripple and eddy of these waters. They know where the fish bite, when they leap, and how they shimmer under the Alaskan sun.
Whether you want to understand the river’s rhythm, get hands-on fishing tips, or find that picture-perfect spot, connect with Jason’s Guide Service to amplify your Alaskan adventure. It’s time to dive deeper, fish smarter, and capture moments that leave an indelible mark on your heart and lens! Book now.